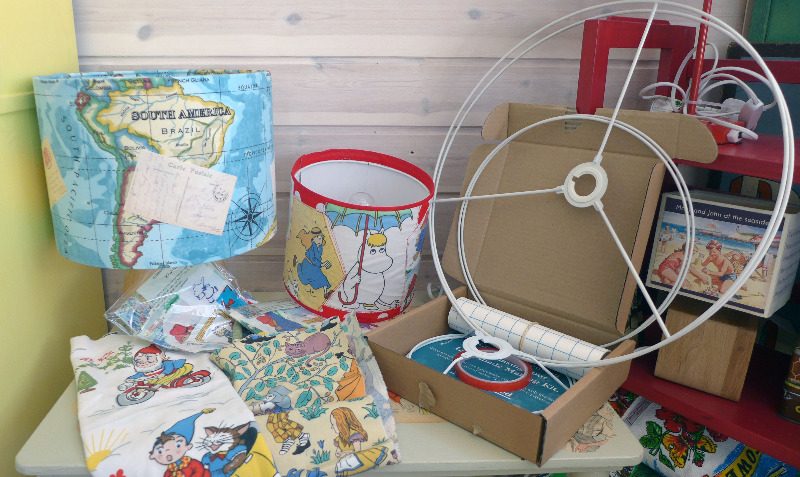
Crazy Lampshades
Posted on
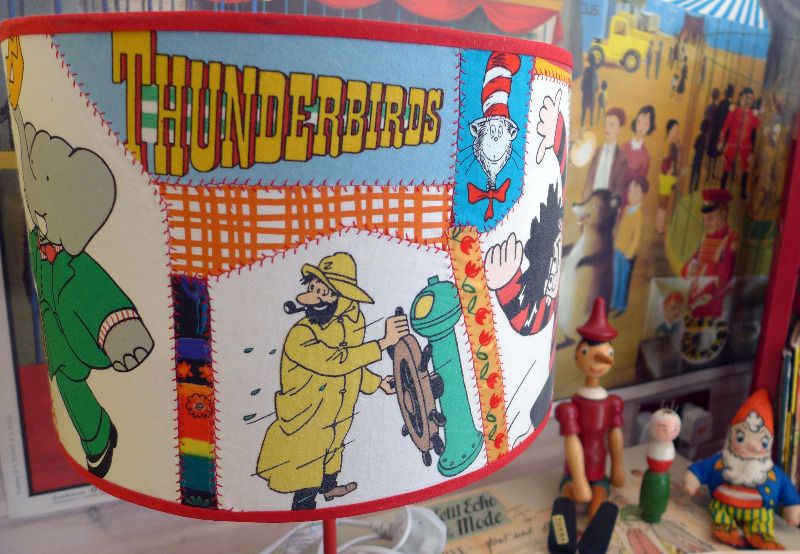 Today I'm doing a quick blog about how to adapt crazy patchwork for a lampshade*. Trial and error has taught me that when light shines through your crazy creation every small imperfection is backlit and on display for all to see, so some small modifications are required! Take advantage of my failed attempts and use these tips to avoid the pitfalls. These instructions all relate to the lampshade kits that are on the website - if you have a different version, or you are covering an old shade then you'll need to cherry-pick the bits of advice that are useful for you.
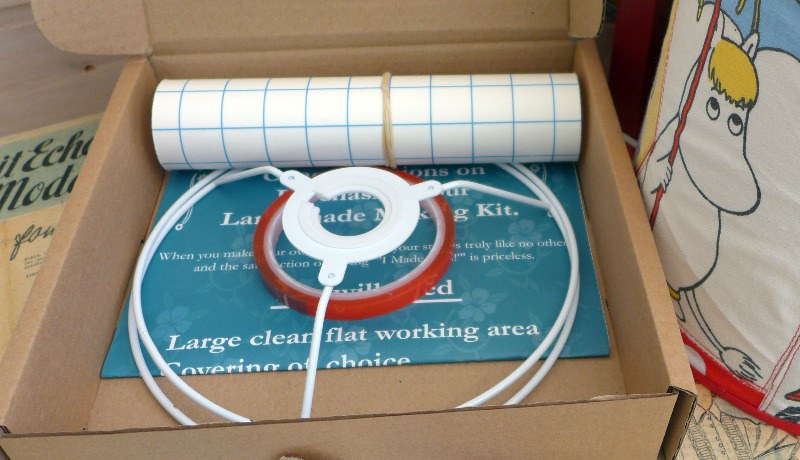 Your lampshade kit has a rolled up, self adhesive panel inside it. Lay this out on a piece of pale backing fabric and cut your fabric to the size, allowing an extra centimetre of fabric at each short side. Now look at the back of the panel, you'll see that the long edges have snap off pieces at about 1 cm in, when making a traditional shade you need this extra fabric allowance to create your rolled edge, however for a patchwork piece they are surplus to requirements so you need to make a mark on your backing fabric to correspond with them. Once you've done this you should be able to see exactly the area you need to fill to create your design. (One more tip - when sticking your design, allow it to extend slightly beyond the lines, this will make it easier later on).
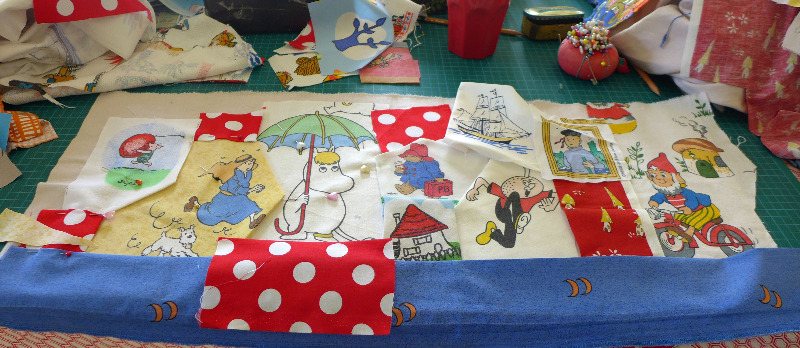
Now start to lay out your pieces of fabric for your design, following the usual crazy patchwork rules (see my earlier blog). Once you are happy it's time to start fixing. Unlike the quilts and cushions these lampshades will never be washed or generally dragged about (you hope!) so the issues of hemming and edging are less crucial. This is good because flipping fabrics over to create neat edges simply makes ugly lines on the shade when it is back lit. So.... you need to cut your fabric to the exact size and shape required, this is immensely liberating by the way!
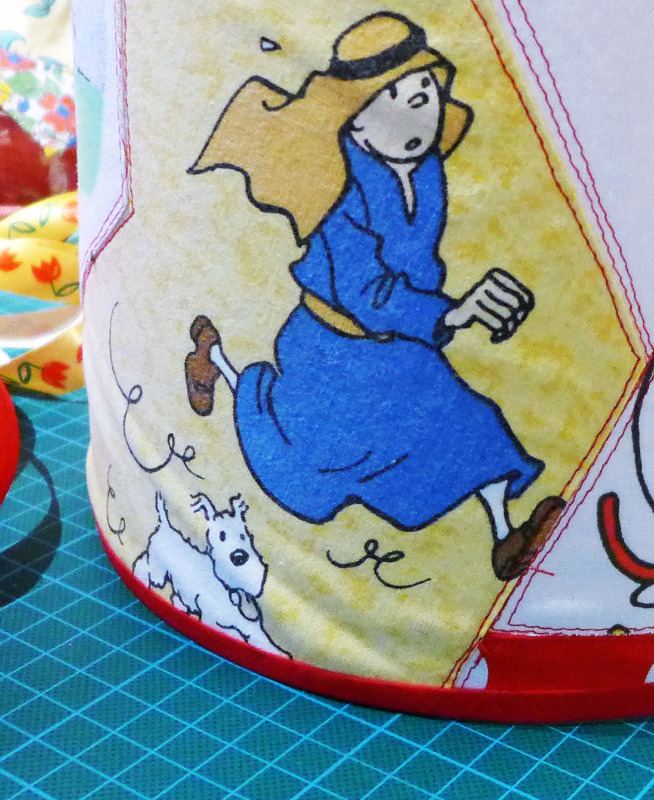
Once done you need to stick it to the backing fabric. Yes. Really! Grab a can of 505 fabric glue (or similar), spray your patchwork piece and stick it to the backing fabric, make sure there are NO AIR BUBBLES and the the two fabrics remain FLAT and not bunched up. Lesson number two is that any fabric not fixed tightly to the backing fabric will start to bag out once you place the design on the adhesive panel. See Tintin below - this lampshade was made without sticking the fabrics , only pinning and stitching.
Keep going until your whole panel is covered, then sew all of the seams either with a contrasting thread and decorative stitches or with invisible nylon depending on the effect you want. You can do this by machine or hand, and if you want to add extra trims and embellishments then do it now.
Now for the (slightly) fiddly bit. Peel the backing paper off a section of the adhesive panel, line up the panel with the lines on your fabric and stick the panel to the back of your design. Unroll and peel as you go and make sure each section is stuck down with no air pockets. If you go wrong, or are slightly off the line just gently lift the adhesive panel off and restick. If you have made sure to extend your patchworking to beyond the edge you will be rewarded now by having a little bit of leeway as you stick.
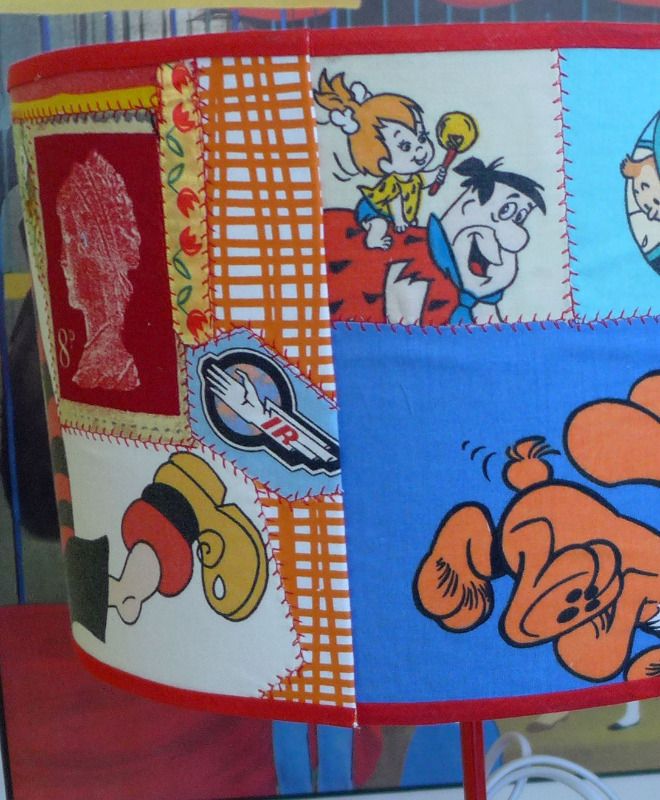
Turn the panel over and smooth out any air pockets. Now snap off those extra bits of the panel and, using a cutter and steel rule trim the shape along the long sides so that the fabric and panel are the same size. Have a look at your design and decide which of the short ends should be on show when it is completed - see picture above. When you wrap it on to the shade one end will be hidden on the inside, one will be visible, try both and see which you prefer. Once you have decided, trim the hidden end so that the fabric ends with the panel. The visible end needs to be folded over to create a neat finish. Put a strip of the double-sided tape on the inside of the panel and fix the fabric down. Then put another piece of tape on top of the stuck down fabric. Don't peel it yet - you'll use it at the end to make sure your seam sticks to the rolled shade.
Now you need to neaten the raw edges around the top and bottom of the shade. You can do this with bias tape, either bought or home made. Depending on the size of the shade I use eith 1" or 1/2" bias tape which I iron to create a fold down the length. I then glue this to the top and bottom edges to create a neat finish. Again, experience has shown that rolled edges don't work well on patchwork shades as the end up being bulky and uneven when you try to tuck them in.
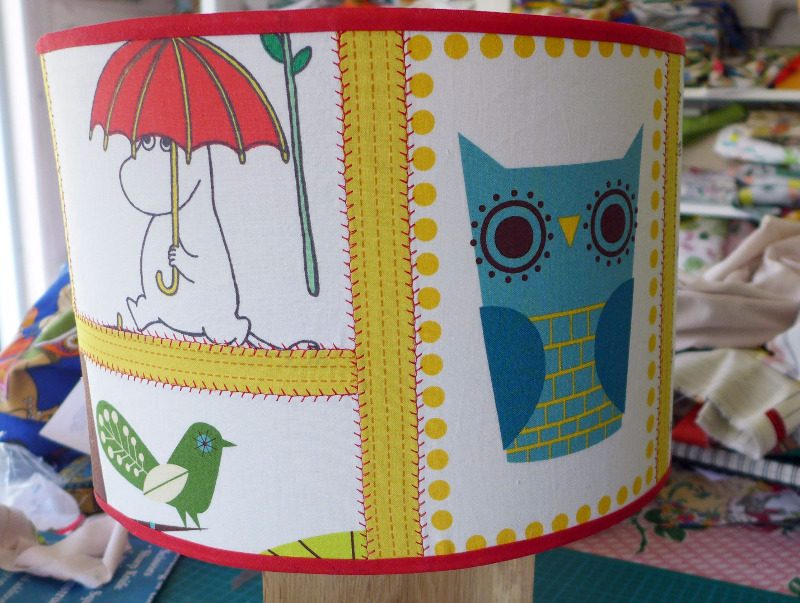
Once you reach this stage go back to the instruction leaflet that came with your kit and carry on from instruction 13! When rolling the rings on the panel just keep them to the edges of your bias tape. Once you get more practiced - or if you have wide tape, it sometimes works to cover the ring on the inside with the tape once the shade is rolled.
By the way, you may be wondering why you don't just stick the images straight on to the self adhesive panel and miss out all this extra fiddling and sticking altogether... I tried it - it was a nightmare! The panel is too sticky so each time you try to rearrange something slightly or re-jig the design the sides stick and the frayed edges become uncontrollable. I gave up after an hour and threw the whole thing away - no photographic evidence remains I'm happy to say!
* These instructions are a guide to help you create your own designs. if you are using them to create lampshades to sell please respect my copyright and the work I have created. Please do not copy my designs, stitch choices and fabrics and claim them as your own. Sorry for the need to say this but that is what someone has done ðŸ˜.
